So here's the perfect ultra-budget setup, perfectly lockdown-themed.
I know, It really sucks to attend your meeting on a phone. Now what if I told you that you can make your own computer setup within a budget of a low-tier phone!
NOTE: THIS SETUP DOES NOT INCLUDE AN EXTERNAL MONITOR, THEREFORE YOU'D
HAVE TO EITHER BUY ONE OR USE YOUR TV.
The System
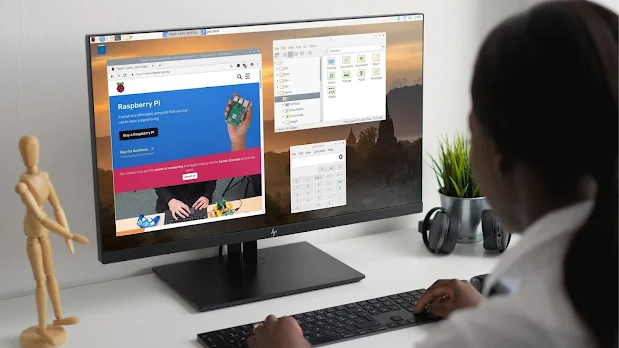
Well, we are using the latest Raspberry PI 4B 8GB variant. It's pretty much your choice to choose any variant you want.
Since this variant is the most powerful, you may want to consider this for maximum performance. It has a handful of I/O ports, connectivity options, several options for Operating Systems, and a lot.
Why Raspberry Pi?
We want to create a low-cost yet effective setup and Raspberry Pi could fit in smoothly. It's low-cost yet effective.
It is highly flexible and you can make use of it to do anything you want! You can make it as your game console or you can use it as a media center. Yes! You can turn your Raspberry Pi into an android TV box.
Check out this article here for more info on installing Android TV on Raspberry Pi.
I myself used Google Meet in Raspberry Pi 3B 1GB ram and the surprising stuff is it works pretty good. You might need an external microphone and an external Webcam.
Next, Let's start giving our setup life and controls by adding peripherals to it.
External Peripherals
For the Keyboard and mouse combo, I've gone with a cheap combo: Zebronics Wired Keyboard and Mouse Combo. It's really cheap but not ergonomic.
For ergonomics, I've gone with the Logitech MK215 combo.
It's great and compact and I have tested it myself. I have provided links below do check it out. The other link I've provided is the official Raspberry Pi Keyboard and mouse combo (Wired).
For output audio and mic, You can go with a discrete speaker and external microphone set or you could simply buy a pair of headphone or earphones that has in-built mic to get you started with.
Having a speaker is really ergonomic, so I recommend you to buy a pair of speakers, preferably wired.
If you're trying to fit things into your budget, then you can go ahead and buy a pair of earphones or headphones.
You can use your mobile adapter to power up your System (Not recommended) or use the
official Raspberry Pi power adapter.
Even though Mobile adapters are an easy way to power up the Raspberry Pi, it usually doesn't provide sufficient wattage required to the Pi. Doing so may cause problems in the long run, so you should consider buying a discrete adaptor.
For video conferencing you certainly need a webcam. I've used the
official Raspberry Pi webcam that features:
-
Supports Raspberry Pi better than other webcams
-
Video quality up to 1080p30fps
-
And still image quality up to 2k
No sound will be recorded if you use it for recording.
The reason why I chose this is because this is the most optimized and apt for Raspberry Pi(s) and it is affordable too. You can also check out other webcams if you have some bucks to spare for higher video quality and microphone built-in.
For internal storage, you either need an SD Card or an External Hard disk. I recommend using an SD card because it is cheap and easy to set up. Just make it bootable using Balena Etcher or Rufus and Plug it in. You're good to go.
Using a Pendrive works too but SD card seems to be safer and more power friendly. And there might be heating issues with Flash drives, so you're better off with SD Cards.
For the protection and improved efficiency of the Raspberry Pi, I have gone with a Raspberry Pi case. There are various cases to choose from. Here are my top picks.
Now, we need a display. As mentioned before, This list doesn't include an external display source.
You can either use an External Monitor or your TV. The choice is up to you. Here are few peripherals that can help you. The first one is the HDMI to VGA Converter. The next is a high-quality HDMI Cable from Amazonbasics.
That's pretty much it. If you've found this article helpful, share the
article and subscribe to our feed for more posts like this.